Wednesday, 12 November 2014

Changing a Photo on Photoshop

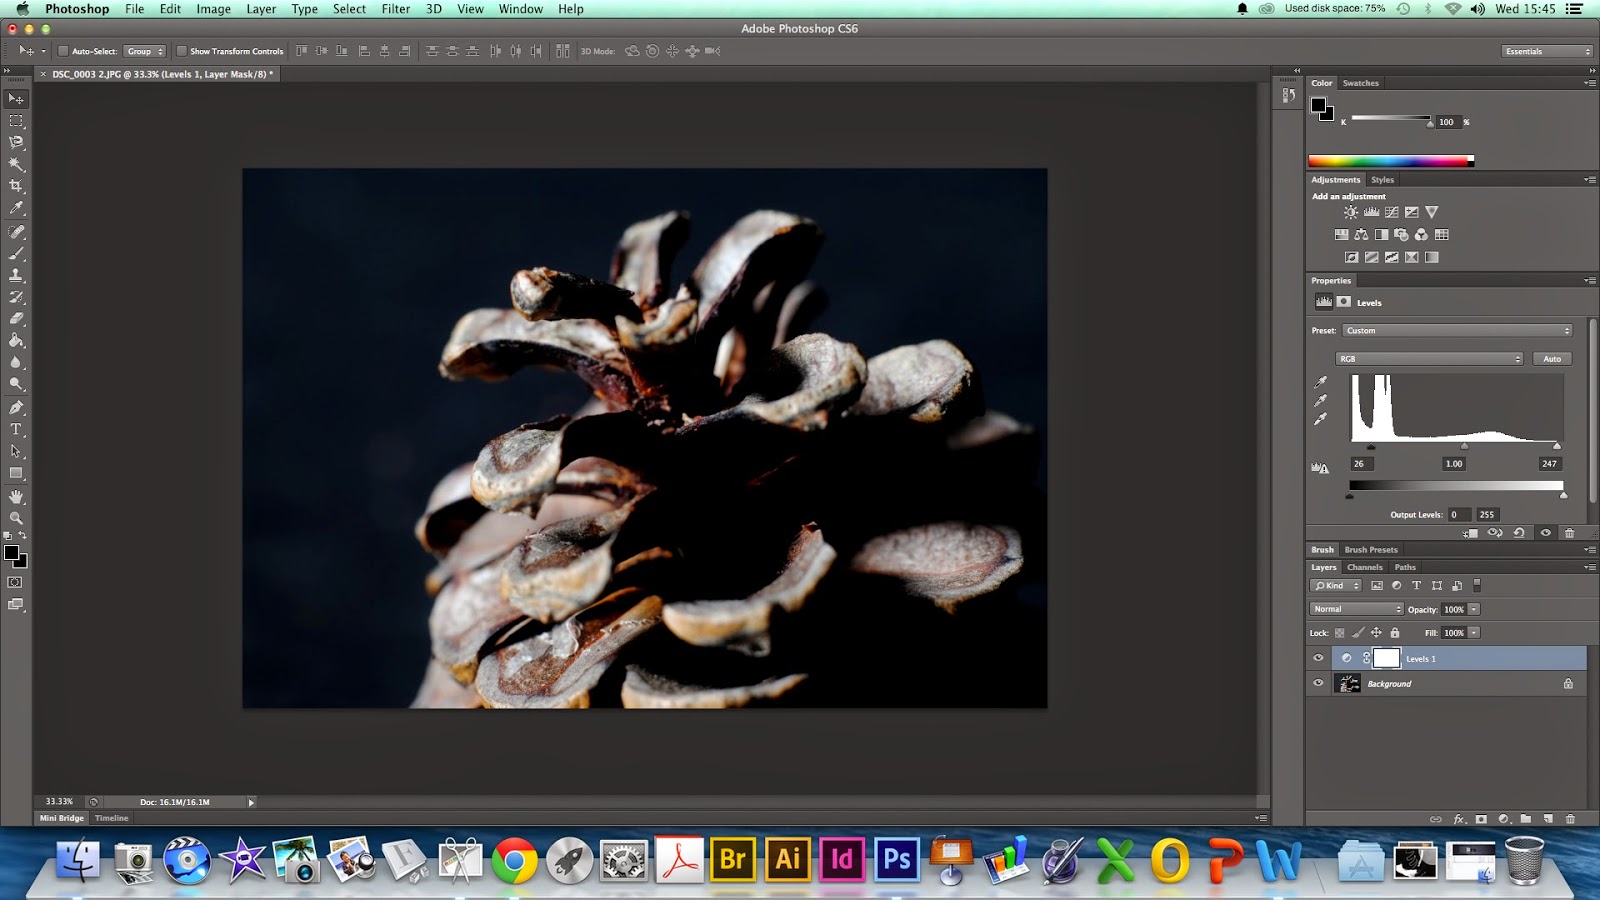
I took a close-up photo of a pine cone in low key lighting and to make the pine cone stand out so I changed the image to be more dark in some places and the object to be light.

First I opened up the image on Photoshop.


 Next I picked levels to make the background darker.


Then to make the background darker I then used curves, but it made the object darker as well.
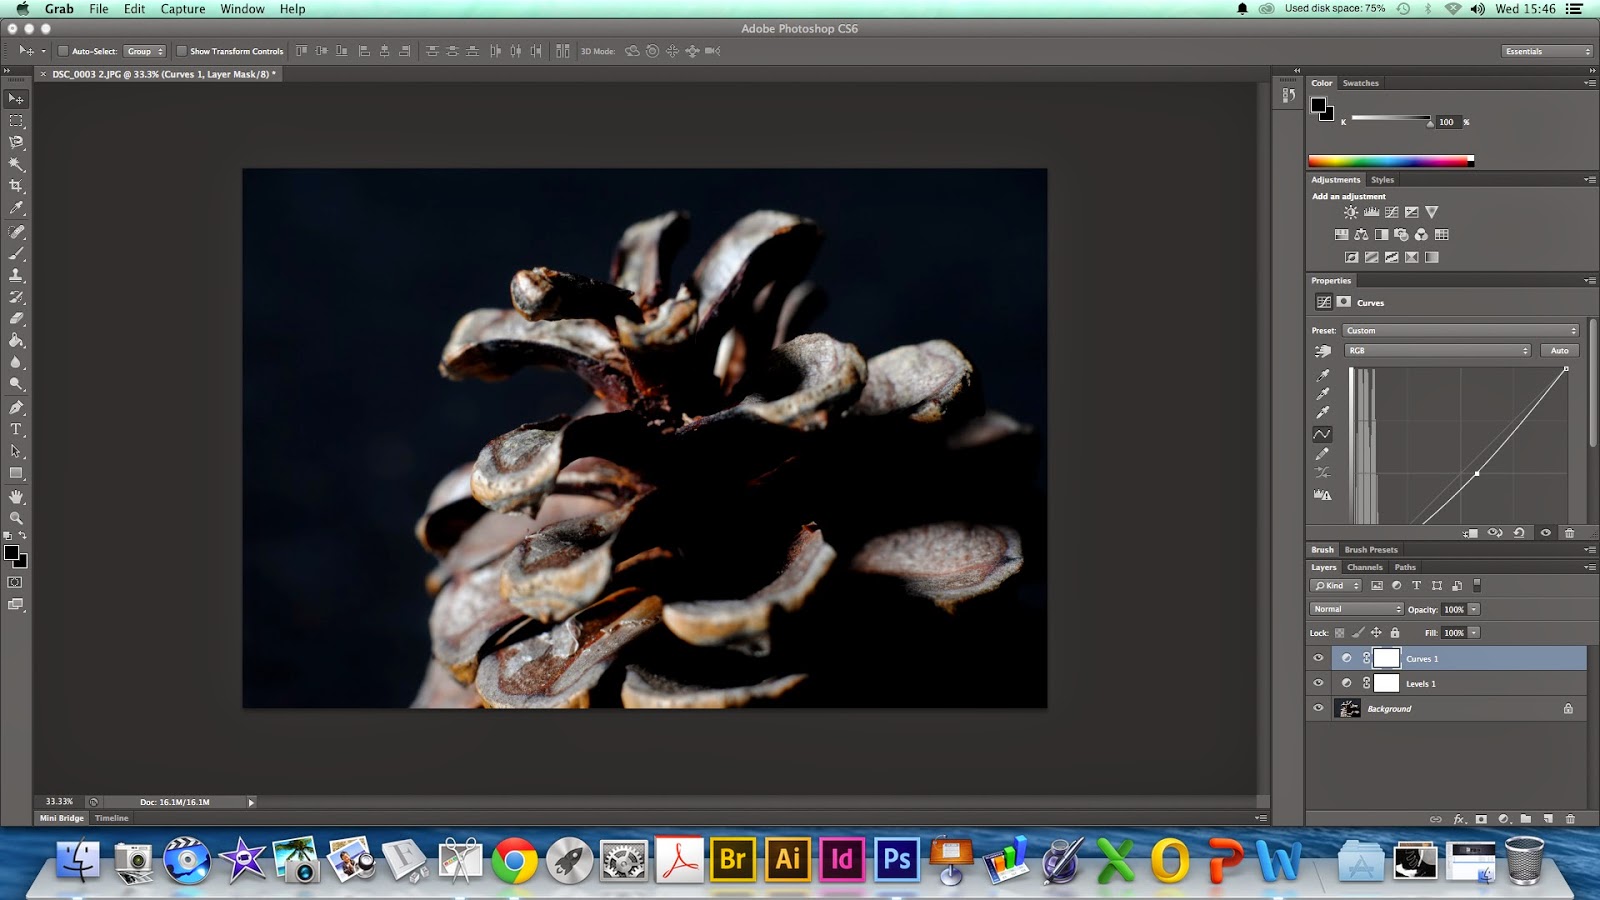

So I used exposure to make the pine cone stand out.


And brightness/contrast to make the blacks blacker and the whites whiter.


I then changed the image to black and white as it makes the image more dramatic.


Altered Book

An altered book is an old book that has been altered by using mixed media it changes the book.

Equipment & material
  • An old book
  • Glue
  • Pegs
  • Craft knife
  • Drawing equipment: pen, pencil, ink
  • Water colours
  • Acrylic
  • String
Method
1. First using a dictionary I drew some samples to go into my by final altered book.
2. Next Glue the pages together where the niche is going to be cut out making sure that cling film covers over the parts that is not being glued.


3. I then glued the pages together that I was going to use, like to draw on.
4. Next I cut out the niche.


5. I then glued the niche.


6. Using the image I originally drew on the dictionary I then glued it in to my book.


7. Then I decided to draw something to go with the theme of my book which is manmade and nature.


8. Then ripped up to of the pages and slotted tags between them decorating them first. I then added bird silhouette.


9. Then I added a pop up rose.


10. I noticed that were I had put the tags the other side had nothing on it. So I drew a a cog silhouette to match the silhouette of the birds and the man made theme.


11. Next I took a butterfly that is raised for embossing card and used it to make frottage butterflies, but I also used it as a template to create a stencil. and added water colour


12. With the butterflies I had previously cut out and used them to create a piece based on Sue Blackwell.


13. Using two more illustrations I again put them in my book, but this time I also added text.


14. Next I got some plastic and slotted another butterfly in-between the plastic. Then slotted it between the pages of the book so it can bee scene through the niche. I also added a picture of a frog behind.


Health and Safety
  • Keep fingers out of the way when using a craft knife.
  • Need to a cutting mat to protect surfaces.
  • Be careful when using a heat gun.
  • be careful to not get glue and paint on clothes and surfaces.
The most difficult part was putting in the plastic in between the niche, because I wanted it to look really neat. To solve the problem I cut the niche and once the piece of plastic was inserted I glued it back together. Another technical problem I had was making the butterflies stand up I finally worked out that heating up the plastic then holding them in position until they cooled down that I could get them to stand up. The pages I'm most pleased with are the bird and cog silhouettes especially the contrasts of the black against the lighter page and the way the birds move across the pages. For the cogs I like the fact that the cogs stay within the text on the pages and then to add texture I also added string. Also by adding the string it joins the pages together visually.

Nick Schroeder Response

Method
  1. I used a mirror to do a self portrait sketch. I mostly did it in line than added detail to the eyes.
  2. It was then photocopied.
  3. I then pined it onto the cotton.
  4. I then machine stitched (free stitch) on both the paper and the cotton, following the image.
  5. I had to keep stooping and starting to get the hanging threads
  6. I then tore off the paper but still leaving it in some places like the glasses and the lips.
  7. I worked back in to the mouth using a second colour like Nick Schroeder
Nick Schroeder
Nick Schroeder is a Berlin based artist who uses hand stitching as the main medium for her work. she use images that have been taken as a selfie.


This is my own response

Hand Stiching

Hand Stitching is a type of embroidery that can be used with many mediums like felt, drawings and so on. There are many types of embroidery:


Stem Stitch


Couching


Coral Stitch


Bullion


I experimented with all of these stitches.

Health and safety
  • Be careful when using a needle because if it slips it can go into your finger.


Machine Stitch

This piece was created by Jennifer Morrison

Equipment & Material

  • Sewing machine
  • Fabric
  • Thread


Method

  1. First check if the needle is bent and if it is, it needs to be replaced.
  2. Then attach the pressure foot.
  3. You need to put the thread on to the bobbin. Place it on the bobbin spindle and wrap the thread from the spool once around in the direction of the arrows on the pre-tension stud. Attach the thread to the bobbin. Press down on the foot pedal and the thread will go on to the bobbin.
  4. Next the machine needs to be threaded. Thread the thread through the thread guide and and the thread tension slot. Then through the second hook on the needle clamp. Thread it around the thread take-up lever and back through the slot and threaded through the needle.
  5. Now the bobbin has to be threaded in the machine. Put the bobbin in the bobbin case while putting the thread through the whole while pulling out just a little more thread. Then put the piece into the machine while making sure the piece that is sticking out is aligned and that their is a clicking noise once in. Holding the upper thread turn the hand wheel the needle going down and up again and tug on the upper thread and the lower thread will come through the hoe to the surface.
  6. Turn on the sewing machine.
  7. Place the fabric underneath the pressure foot and lower the foot to keep the fabric in place.
  8. Place both hand either sides of the fabric which will help guiding it through when stitching.
  9. Just push the foot pedal and start stitching. Depending on how much pressure is put on to the pedal will depend on how fast you stitch.

Health and Safety

  • Never leave the appliance unattended
  • Unplug from electricity when not in use
  • If the plug or the wire is damaged do not use
  • Make sure all leads are not anywhere that they can be tripped over
  • Do not use a bent needle
  • Keep fingres away from the needle
  • Make any adjustments when the machine is off


This piece was created by Jennifer Morrison

HandMade Felt

Felt is the oldest textile. It is not made by weaving or sewing, but wetting the wool then rubbing it then rolling it to get the wool to bind together to create felt. Felt is used everywhere from automotives such as cars, musical instruments like a piano and also in construction and as a craft material.

This work was produced by Jennifer Morrison  and is based on the works of Moy Mackay and Mary-Clare Buckle.

Material

  • Merino wool tops
  • Warm water
  • Soap
  • Bubble wrap
  • Netting
  • Bamboo mat
  • Towel/ Sugar paper

Method
  1. Lay down either sugar paper or a towel. Then use bubble rap on top, the bubble side up. take the wool top and take pieces and lay them down in the same direction. then make a second layer in a different direction and then a third layer if desired. The same is done if it is coloured wool that is being used.
  2. Using warm water, dampen the wool to make it easier for the wool to bond, but not too much that the piece is saturated.
  3. Use the soap, then rub it over the surface.
  4. Rub the wool until the fibres are fully bonded then turn over the piece and repeat. Roll up the wool in the bamboo mat and use both hands to roll it to make it bond even more.
  5. Gently rinse the wool under cold water.
Health and safety

  • Clean up spillages off the floor.
  • Rinse eyes out if soap gets in them.

Mixing Felt Fibres
Equipment
  • X2 Brushes with needles
  • X2 coloured wool
Method
  1. First I picked 2 colours and placed them on one of the brushes then with the other brush put them together and pull and do it until it is really mixed.
  2. Then the mixed colour can be used like as above.
Health and Safety
The needles on the brushes are sharp so be careful.

Jonathan Yao Response

Method
  1. First I picked an image of a famous person I like (Robert Downey Jr as Tony Stark from Iron Man.) Then using the grid method on a the photograph I drew out the image. I did use a grid I then rubber it out even though Jonathan Yeo leaves the grid and incorporates it in to his painting.
  2. I then redrew it on to a canvas that I had prepared by gluing fabric onto a piece of card board then I painted it white. To redraw the image I used an over head projector (OHP) to enlarge the image.
  3. As I wanted to paint the image in black and white i took a picture with my phone changing the filter to black and white. Then made it to look like Jonathan Yao's works
Jonathan Yao
Jonathan Yeo is a British portraiture artist that deals with paint to create his portraits. He paint iconic figures Nicole Kidman and Damien Hirst are some of the famous people he has painted.
This image was the image I used to create my piece.
Portrait Study (Dennis Hopper) 2005