Friday 5 June 2015

screen printing

Equipment
Screen (frame + mesh)
Squeegee
Spoon
Tub of Water
Sponge
Acrylic
Binder
Paper
Stencil
Acetate
Waterproof Parcel Tape
News Print to cover table
Method

  1. First I cover the table up with newsprint then I taped up around the edges of the screen.
  2. cover any patches on the other side with the tape.
  3. I then applied the printing medium to the top edge.
  4. I then took the squeegee and pulled it down the screen at a 45-degree angle.
  5. Then I took the paper and placed it onto a drying rack.
  6. Next once, I had finished I scooped up the rest of the ink and put it in the tub and the took the tape off and then took the tub of water and the sponge and cleaned it off.
Health and safety

  • Do not eat of drink around the area you are doing print or within the room.
  • Be careful with the printing medium not getting in mouth or eyes.
  • Make sure the area is well-ventilated.
  • PPE

Tuesday 28 April 2015

Typographic systems and typography

Typography

Typography is a visual representation of the spoken word, which enhances the visual experience with typeface and font.

A point is a small unit of measurement that is used in the printing industry.

There are six picas in an inch. Each pica contains 12 points. That means that there are 72 points in an inch.

Typographic systems
Typographic systems are and different grids that are followed like the grid system and a poster can be broken up in to different sections.


Typographic systems help with the pace that something is read at. Emphasis that Is put on to a certain part and the Tone and mood that the underlying manner of the writing both visually and how it is read is perceived i.e. happy, sad 

Sunday 29 March 2015

Presentation for artwork

Presenting artwork is important and there are many ways to present artwork.

2D
Flat wall mount
Directly mounted onto the wall.
Window Mount
An image is put onto a white piece of card and then is mounted onto black card.

3D
Plinth
The piece is put onto a plinth which is dependent on how big the piece is.
Installation
The piece is created on site and is designed for a specific place.

I have chosen installation would be suitable for my proposed outcome because it will be on the floor because it will be big and the piece is 3D rather than flat.

3D ceramics and Other materials I used to make towers and health and safety notes

Equipment

  • Clay
  • Sugar Paper
  • Rolling Pin
  • Clay Knife
  • Small Loop Tool
  • Rib and Scrapper
  • Modeling Tool
  • Cut-Off Wire
Method
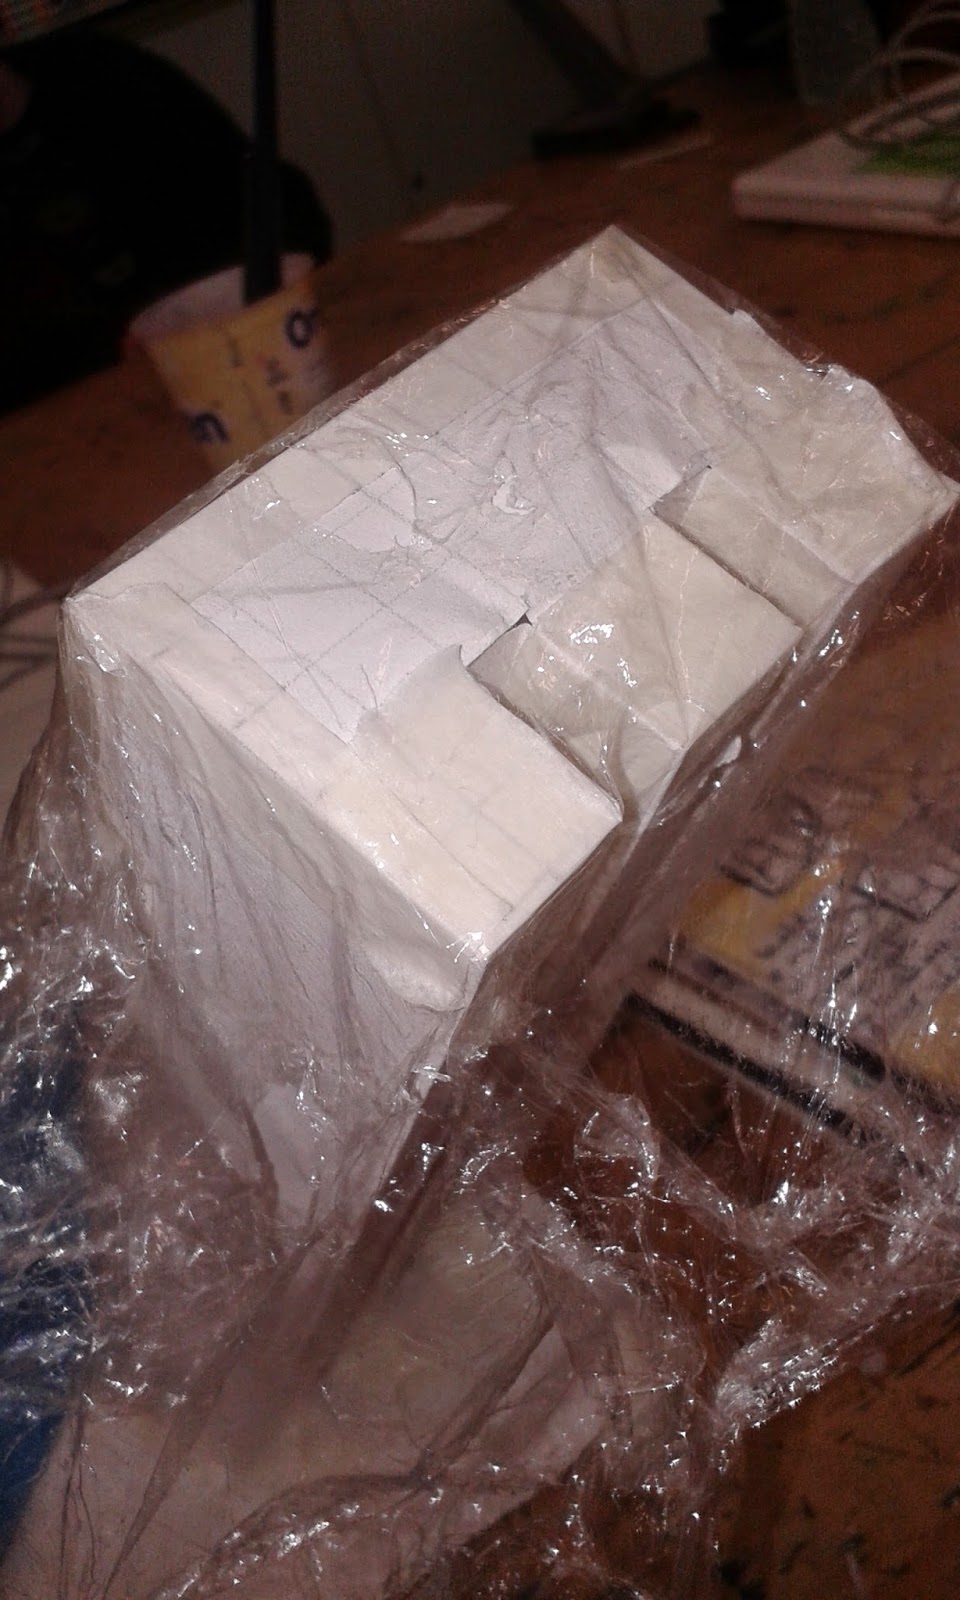
1. First I made a cuboid out of clay and then I started to shape the clay into a letter L
First attempt did not go to plan
2. I then made another cuboid, but then this time I left it till it was slight leather-hard.
3. Then I cut out the letter, but this time a different letter.
Better this time but still looked messy
4. I then made low relief clay tiles of the letters.
5.I then rolled out a slab and a folded it into an L shape.
6. and then I added a hole in the bottom and cut an angle

Health and Safety
  • A damp sloth needs to be used to wipe surfaces clean instead of using a dry cloth.
  • Never shake aprons or cloth and wash them regularly.
  • Work with clay in a well ventilated area.
  • Spillages of material should be cleaned up straight away, but vacuumed not washed or wiped.
Other materials I used to make towers and health and safety notes:
Metal work
wear gloves because when bending the metal there is sharp part so it can cut you.
Felt
See other older post

Wednesday 25 March 2015

3D Dissolvable Fabric

Dissolvable fabric is also called water soluble fabric that is able to dissolvable in water.

Equipment

  • Dissolvable fabric
  • String
  • Embroidery Hoop
  • Sewing Machine
Method
1. I threaded up the sewing machine and put the dissolvable fabric in the embroidery hoop.
2. Next I stitched into the dissolvable in a circular motion making sure that the thread cross over each other.
3. I then ran it underneath the tap to dissolve the fabric
4. I then took a maquette I had made earlier

5. Then I moulded the stitch around the Maquette.
6. Once dry I took it off the maquette and it kept it shape


Health and Safety
The health and safety for using the sewing machine is in an older post.(Also applies to felt building)
Be careful not to get the dissolvable stuff in mouth once it has dissolved.

Art Movements

Surrealism
Definition: Surrealism is a part of art and literature, which looks at creative potential like dreams and imaginations. 
Surrealism was rebelling against social and political and was connected the communist part.

The movement was stemmed from the dada movement.
The movement was founded in 1924 by Andre Breton in Paris and finished 1945 with his manifesto of surrealism.

There were 2 types of surrealism one was the early dream work by Salvador Dali and Rene Magritte and the other type was free form works by Max Ernst and Joan Miro.

Vladimir Kush is another a surrealism artist, who was inspired by Salvador Dali.
Art Nouveau
Definition: Art Nouveau is a style of art that focuses on design and architecture that uses curved lines and shapes that are derived from natural forms

The movement started in the 1890 and finished in the 1910. Alphonse Maria Mucha Is a contributor to the Art Nouveau style who is best know for his pieces featuring women surrounded by nature.

It was successful until world war one started.

Abstract Expressionism
Definition: Abstract Expressionism is an abstract style that focus on the expressive and emotional effects of a painting.

The movement started in the 1944 and was lead by Jackson Pollock and Mark Rothko and finished in the 1960.

There are two main groupings of abstract expressionism one is the action painter led by Jackson Pollock who worked in a spontaneous manner using large brushes to make gestural marks. The second group is the colour field painters that focused on religion and myth. The were created with simple composition with large areas of a single colour which intended to produce a relaxed response in the viewer.
Modernism (Modern Art)
Definition: Modern art a term given to art and architecture which dominated western culture.
There where many art movement associated with modern art which include Impressionism, Cubism, Bauhaus, Surrealism, Futurism, Pop Art and Op Art.

It started in the 1860 and finished in the 1970 due to artists and movements that began to react against Modernism and so Post-Modernism was formed. Because modernism was made up of many movements there was no one artist that started modernism.

But one artist that is well known as a modernist artist is Vincent Van Gogh.


Dada
Definition: Dada is a variety of art which does not have a certain style. Powerfully influenced by futurist and expressionist concerns with technological involvements. Is a form of artistic anarchy, born out of disgust of social, political and cultural values of the time. It embraced elements of art, music, poetry, theatre, dance and politics. Dada ranges from painting, photography, poetry, sculpture and collage. Dada was created by painters, poets and film makers who moved to Switzerland during the war.

Dada started in 1916 in Switzerland and ended in 1924.

Man Ray played a major role in Dada and Surrealism movements in America as well as in Europe.


Thursday 5 March 2015

Diptych

A diptych is a piece made up of two parts. They usually consist of the same mediums and have a theme of colour, shapes and images ect that link them together.

Equipment

  • Cartridge Paper
  • Quink Ink
  • Wax
  • Bleach
  • Cotton Bud
  • Cocktail Stick
  • Fine Liner
  • Clay
  • Rolling Pin
  • Clay knife
  • Coloured Slip
  • Glaze
  • Transparent Glaze
Method
Wax and Bleach
  1. First I took a piece of A4 paper and cut it in half.
  2. I then drew very faintly the image I was using and applied wax to certain areas.
  3. Next I went over with a wash of quink ink.
  4. With watered down bleach I then went over the lines the where still visible from the pencil and then went over some of the detail with a fine liner.
Clay
  1. First I rolled out a piece of clay and using the clay knife then cut a piece of clay that is the came size as half of a A4 piece of paper.
  2. Then using the clay knife I carved out the rest of the image I had used for the other half.
  3. I then made some parts stick out by attaching a piece of clay with slurry (scored both the surface I was going to apply the piece to and on the piece I was applying to the surface. Then put the slurry which is watery clay on the surface and joined the two pieces together.)
  4. I then smoothed down any rough and shape edges with a wet sponge.
  5. Then I added texture with a fork and metal with a hole in it and then applied coloured slip to the window and part of the building.
  6. It was then bisque fired.
  7. I then glazed certain area in different glazes and applied wax and then added a transparent glaze.
  8. It was again fired.

Health and safety
  • When using the clay knife be careful.
  • Do not touch the bleach as it is an irritant.
  • use the bleach in a well-ventilated area.

Clay Tiles

Experimenting With Textures On Clay
Equipment

  • Clay
  • Ruler
  • Rolling Pin
  • Graphite
  • Objects like a comb
  • Transparent Glaze
  • Glaze

Method
  1. I first went out and took some frottage rubbing of different textures. Like walls, floors, doors and grating.
  2. I then rolled out some clay, then cut out 8 tiles, 8 by 8 centimeters each.
  3. I took 4 of the clay tiles outside and then impressed them into the texture, like a tree. I left four of the tiles and impressed man-made objects into the clay like a comb.
  4. They were then bisque fired.
  5. I then applied different glazes and then glazed some of them with a transparent glaze.
Health and safety
  • When using clay beware of the dust as it can cause cancer so be sure to clean up thoroly 

Experimenting With Colours On Clay

Equipment
  • Coloured Slip
  • Newsprint Paper
  • Clay
  • Ruler
  • Rolling Pin
  • Transparent Glaze
Method
  1. I again rolled out 8 tiles that are the same size
  2. I then put coloured slip onto newsprint paper and waited for it to dry.
  3. I put some of the slip onto sugar paper. Then took two of the tiles and laid it on to the slip while wet so that it would transfer onto the tile.
  4. On one of the tiles, I took some netting and placed it on top of the slip to act as a stencil and then added 2 tiles on top and pushed down.
  5. Because the netting was messy I then took another tile and transferred it onto the tile.
  6. the coloured slip I had previously created I pushed 4 tiles.
  7. I then took each tile and glaze them half of them each with a transparent glaze.
    I lost two tiles
The health and safety is the same as above

Lino print

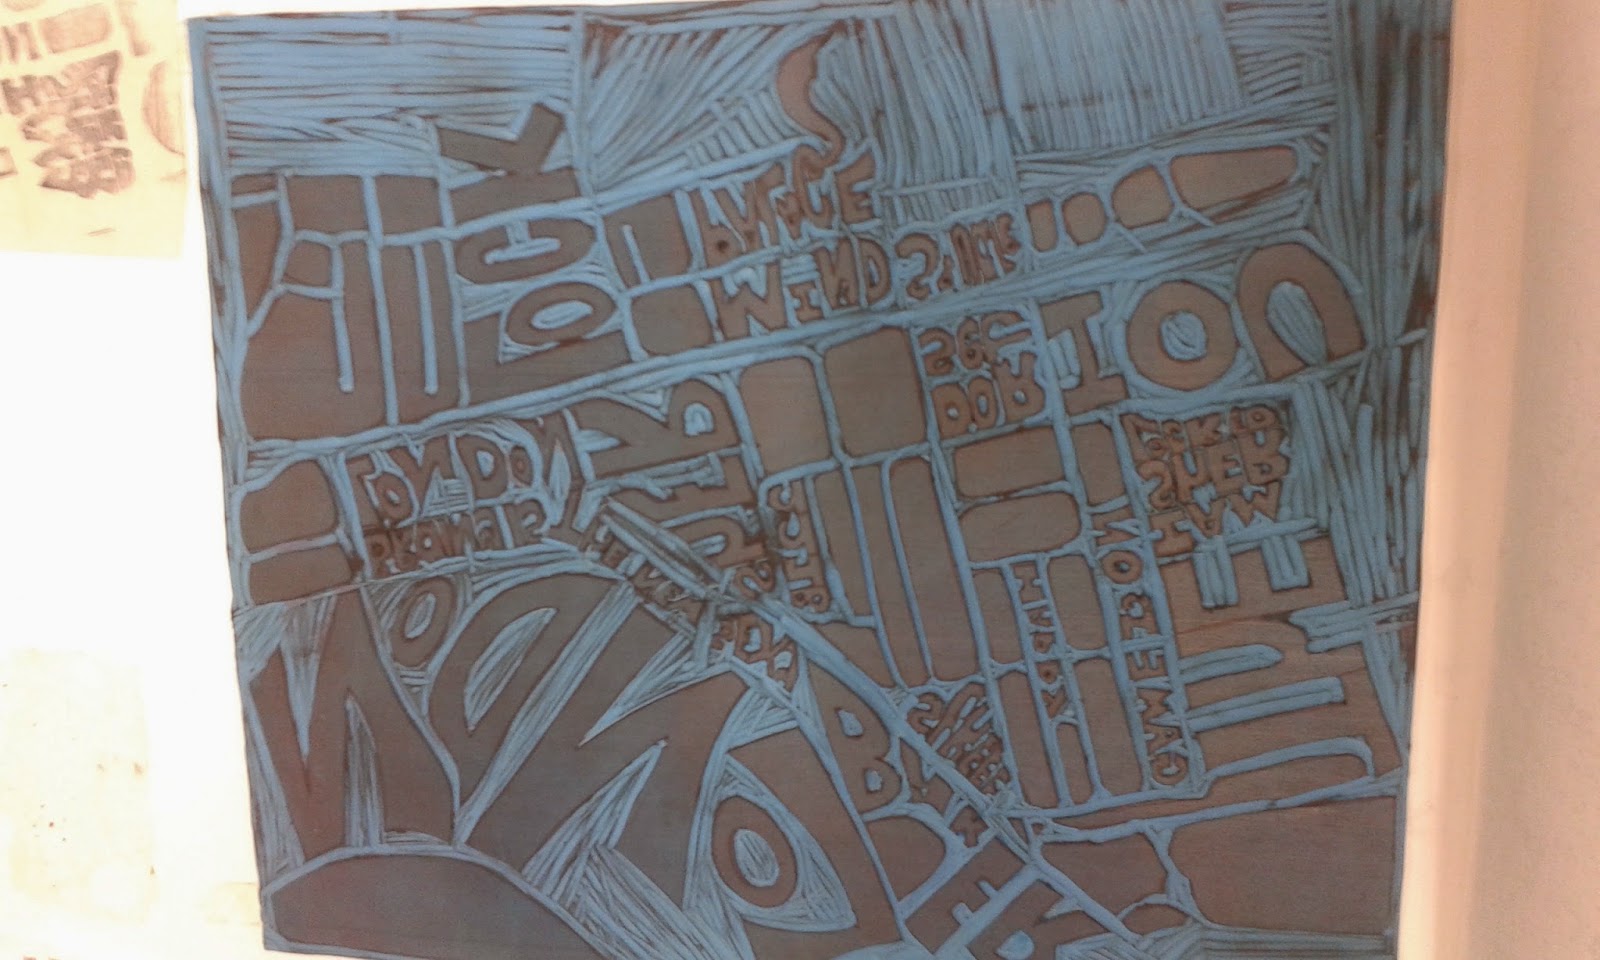
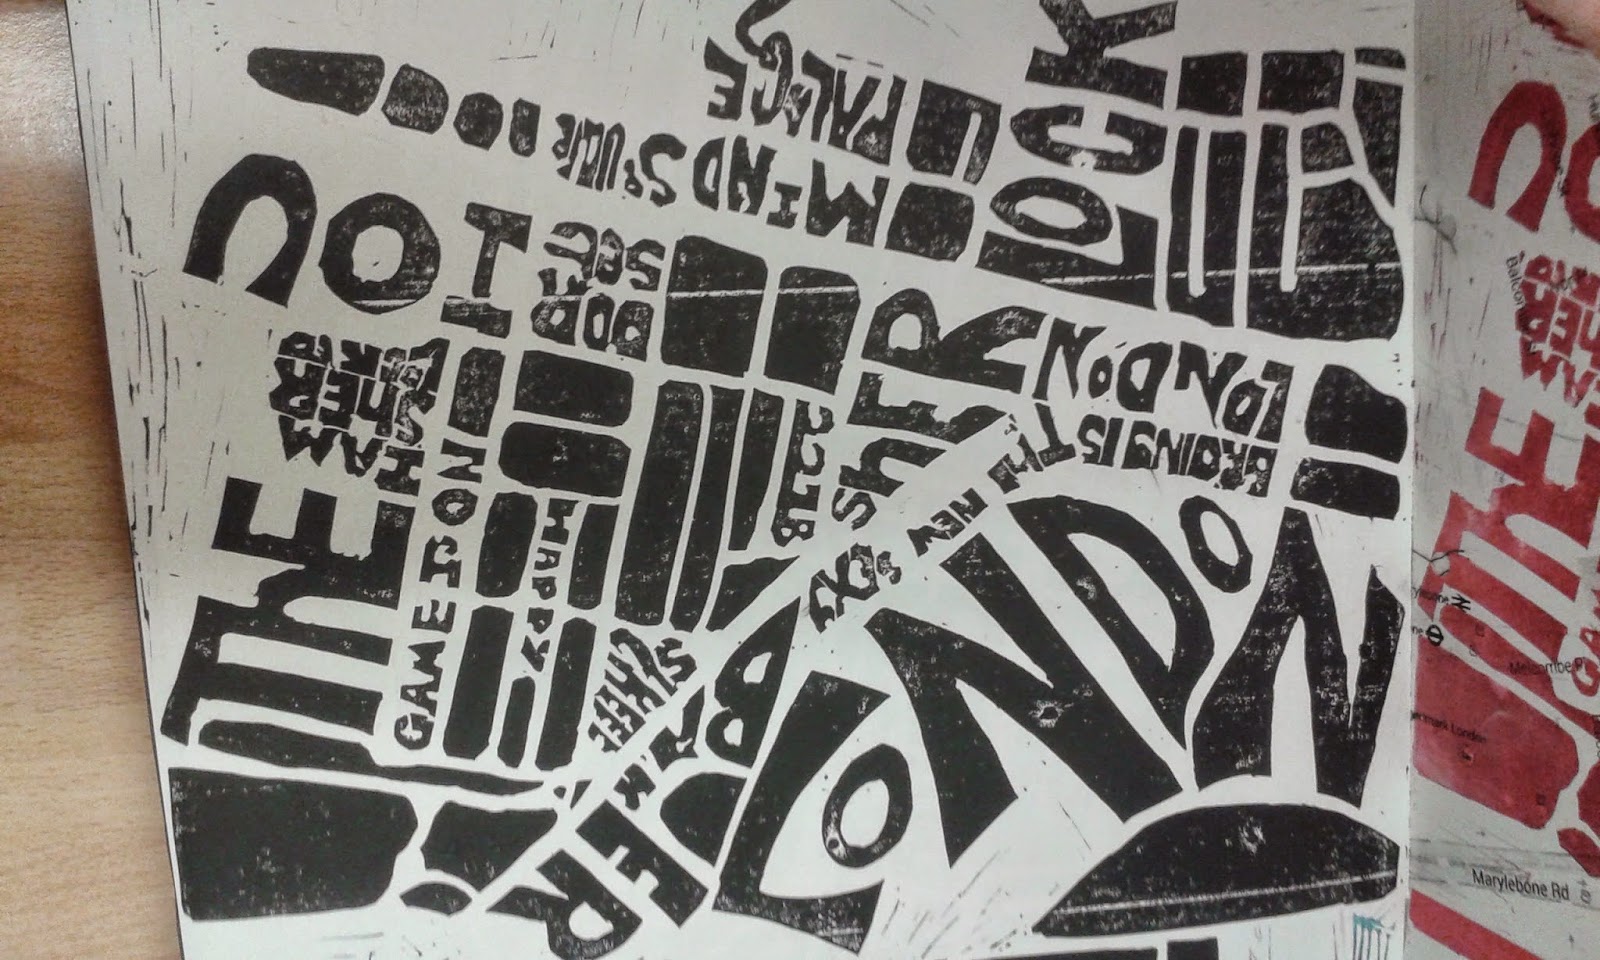
A Lino Print is a printing method that is created by subtractive cutting to take away parts of the line. the ink is then applied with a roller, but the ink only stays on the raised area. so when it is transferred to the paper only the parts that have not been cut will be transferred.

Equipment
Lino
Rollers
Lino Printing Ink 
Lino Cutting Tool

Method
1. I first took a print screen of a favourite area then. I then took the lino mat and on an A3 piece of paper and then I traced the map but left out some detail.
2. I then added typographic in some areas and some areas I left as map. Once finished I traced the image so that I could apply it to the lino print. It also did not need to be flipped as the lino will make it flip anyway.
3. I then traced it onto the lino and then went over it with an OHP pen as pencil can smudge.
3. Then using a lino v-shaped tool I started to cut away at the areas around the lettering so that the lettering would be a raised surface.
4. Once I had finished cutting out the lino I then got a graphite pencil and some newsprint and went over the top of the lino.
5. After I noticed some areas the needed improvement so I cut into the areas that needed improvement and then went over the area with more newsprint and graphite to see if it looked better.
6. The next part I did in two stages: first I got the relief ink and place it onto a piece of plastic  the took a roller and inked up the roller with a good consistency (the ink would squelch) and inked up the lino with the roller and then I placed a piece of paper on top and taking a hand tool pressed down on the surface so that the ink transferred onto the paper. Secondly the steps are almost the same but instead of using a hand tool it was placed onto an Albion press and printed.
 

7. I then used the same steps but instead of using relief ink I used block printing ink. and then experimented using different back grounds and colours.

Health and safety
  • Be careful when using the cutting tool as it is sharp and if you slip it can cut you (I learnt the hard way)
  • use the press sensibly as it is really tough and you can hurt yourself.

Procion dyes and Disperse Dyes and Dissolvable Fabric

Procion Dyes
Procions dyes are used to dye natural fabric like cotton, calico, silk, linen, viscose, rayon, flax, hemp, ect. The dyes can be mixed to make new colours.

Equipment

  • Tub
  • Teaspoon
  • Silk Cocoon
  • Calico
  • Dyes: Royal Blue and Electric Blue

Method of Dying Fabric
  1. I first prepared the dye bath by taking a teaspoon and measuring some of the dye, then applying it to the water. I only used less than half a teaspoon to start with.
  2. First I had to wet a few pieces of fabric for a few minutes. Then put them all into the dye.
  3. I then took them out one by one at timed intervals. 5 minutes for the silk cocoon and the first piece of calico, 10 minutes for the next piece, 15 minutes, 30 minutes, 45 minutes and an hour.
  4. For the first 5 I used royal blue as the primary colour but for the last two I also added 1 teaspoon of electric blue to make them darker.
Health and Safety
  • when using the dyes gloves, mask and an apron must be worn.
  • The dye powders must not be shaken or spilt so have to be careful.
  • The powders need to be used in a well-ventilated areas.

Disperse Dyes
Disperse dyes are used to dye natural fabrics like cotton, wool and silk ect.The dyes are water-soluble. Heat is needed to make the dye permanent, so the heat is like a fix.

Tools and Equipment
  • Heat Press
  • Silicon Sheets
  • Fabrics: Calico and Polyester
  • Printer Paper
  • Disperse Dyes
Method
  1. First I brushed the disperse dye onto two pieces of printer paper and allowed to dry.
  2. I then placed both of the pieces of paper onto the heat press and the and both the calico and polyester on top. I placed a silicone sheet on top and one on the bottom so the pieces do not burn.
  3. The timer was set for 30 seconds and a beep went of once it had finished.
  4. I then removed the piece from the press.
Health and Safety
  • Don't touch plates or metal parts of the heat press as they will be hot.
  • Take care when lowering the handle of the press.
Dissolvable Fabric
Dissolvable fabric is actually called water soluble fabric which dissolves when it come in contact with water and leaves behind a sticky substance so it can be moulded to be 3D or left flat as once it is dry it makes the stitch become hard so that it keeps it shape.

Taking a raw photo and changing it in photoshop

A raw image is a file format that records all the data that is captured by the sensor when a photo is taken. Unlike a JPEG, most of the image is not compressed with mean no loss of data which results in a higher quality image. Also, the image can be corrected without further damage that would result in pixelation of the image, which happens to JPEG images.
Method
  1. I first went out and took some images of the surrounding area. I took them from different view point like on the ground, in reflection and looking down.
  2. I then choose the image I felt was the best one and open it up in photoshop and changed the exposure, contrast, highlight, shadows, whites and blacks. I also changed the clarity, vibrance and saturation.
  3. I then added vignetting around the image.