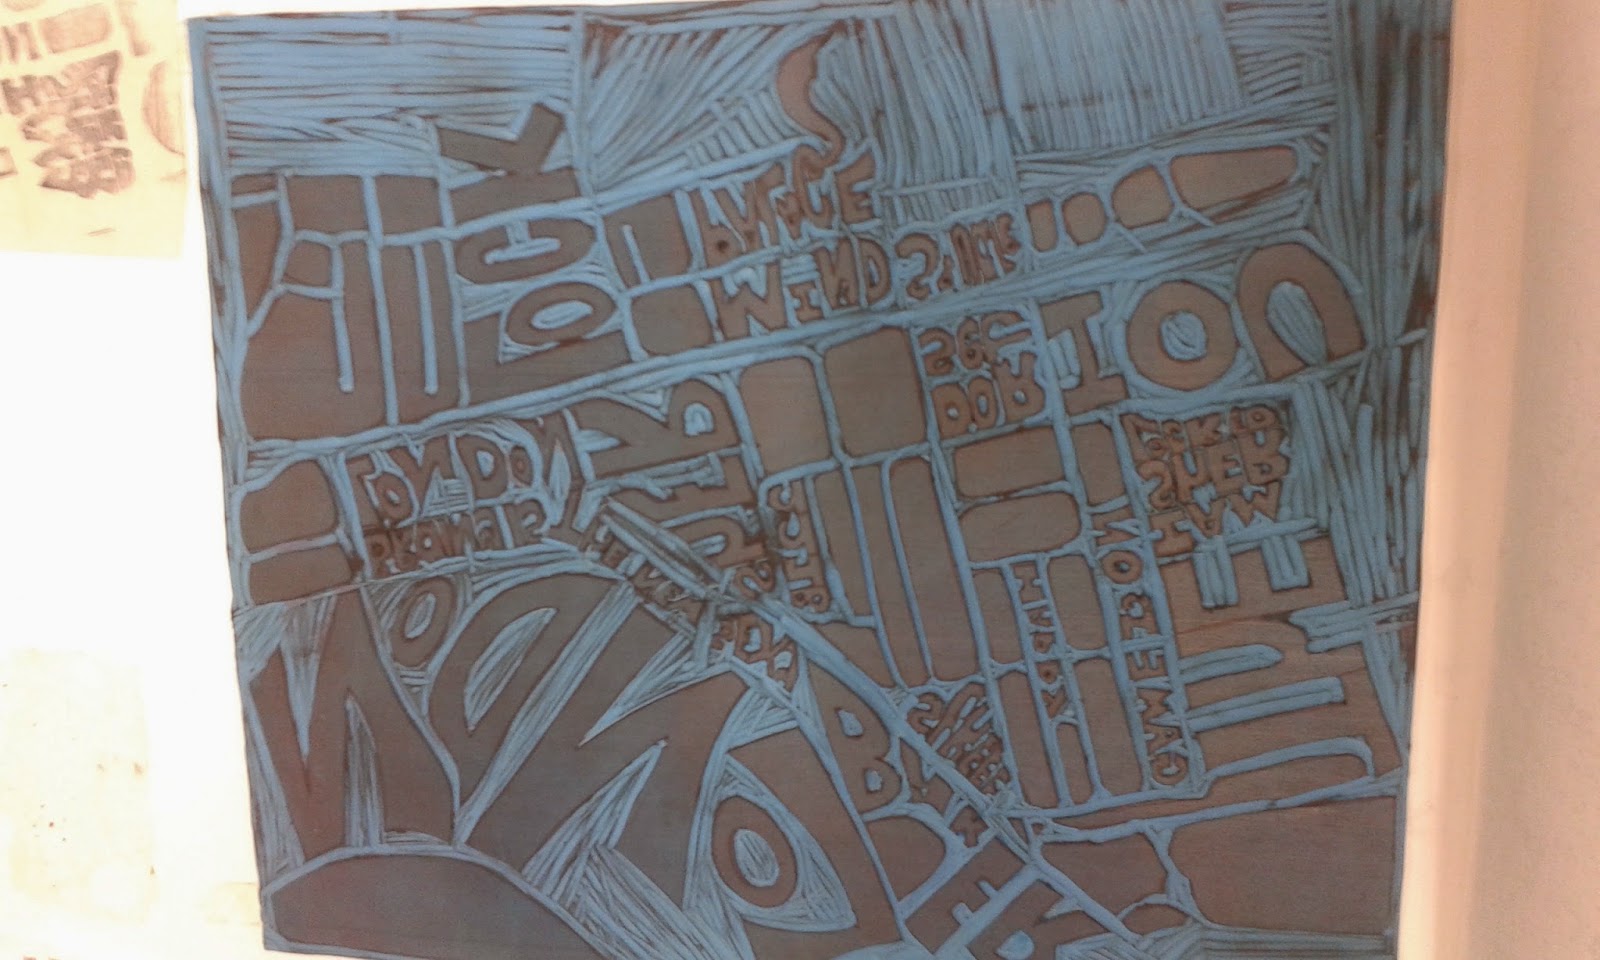
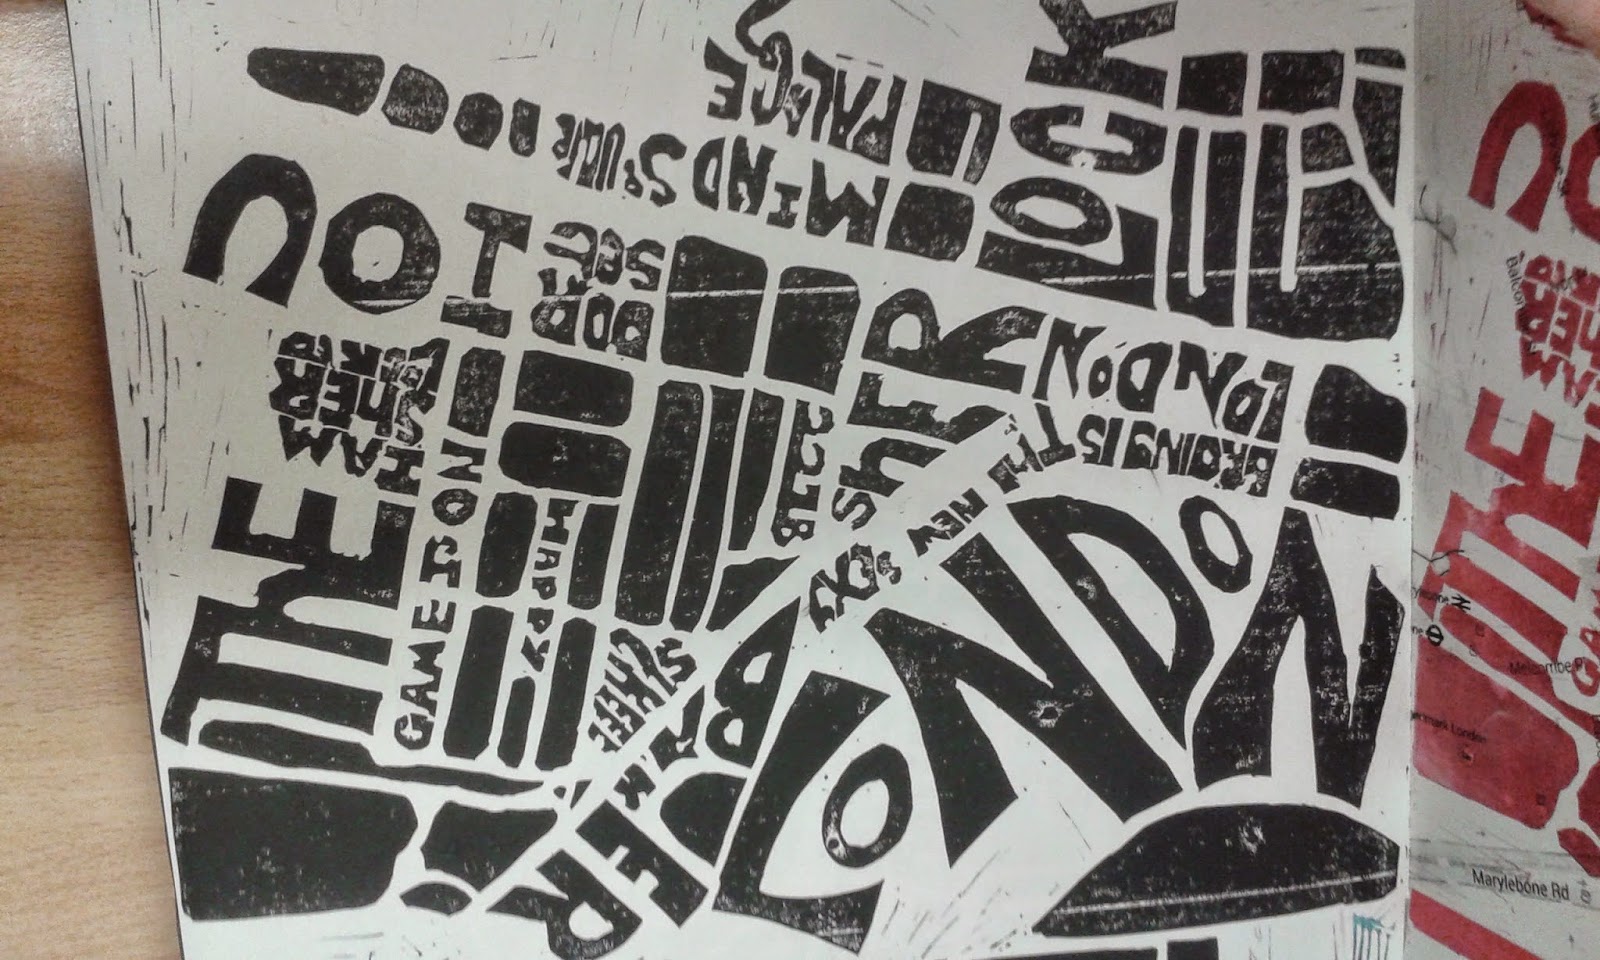
A Lino Print is a printing method that is created by subtractive cutting to take away parts of the line. the ink is then applied with a roller, but the ink only stays on the raised area. so when it is transferred to the paper only the parts that have not been cut will be transferred.
Equipment
Lino
Rollers
Lino Printing Ink
Lino Cutting Tool
Method
1. I first took a print screen of a favourite area then. I then took the lino mat and on an A3 piece of paper and then I traced the map but left out some detail.

2. I then added typographic in some areas and some areas I left as map. Once finished I traced the image so that I could apply it to the lino print. It also did not need to be flipped as the lino will make it flip anyway.
3. I then traced it onto the lino and then went over it with an OHP pen as pencil can smudge.
3. Then using a lino v-shaped tool I started to cut away at the areas around the lettering so that the lettering would be a raised surface.
4. Once I had finished cutting out the lino I then got a graphite pencil and some newsprint and went over the top of the lino.
5. After I noticed some areas the needed improvement so I cut into the areas that needed improvement and then went over the area with more newsprint and graphite to see if it looked better.
6. The next part I did in two stages: first I got the relief ink and place it onto a piece of plastic the took a roller and inked up the roller with a good consistency (the ink would squelch) and inked up the lino with the roller and then I placed a piece of paper on top and taking a hand tool pressed down on the surface so that the ink transferred onto the paper. Secondly the steps are almost the same but instead of using a hand tool it was placed onto an Albion press and printed.


Health and safety
- Be careful when using the cutting tool as it is sharp and if you slip it can cut you (I learnt the hard way)
- use the press sensibly as it is really tough and you can hurt yourself.


No comments:
Post a Comment